Supabase
Run Readyset against a Supabase Postgres database using RDST.
This guide walks you through running Readyset against a Supabase Postgres database using RDST, the Readyset Data and SQL Toolkit.
This guide is intended for local or test deployments using Docker. For production deployments, see the production installation guide.
Prerequisites
- pipx installed (pipx installation guide)
- Docker installed and running
- A Supabase account with a Postgres project
Steps
Get your Supabase connection string
In the Supabase Dashboard, open your project and go to Project Settings > Database. Choose the connection type that matches your network:
Use this if your network only supports IPv4. In the Connection string panel, select Transaction Pooler. It will look like this:
postgresql://postgres.<project-ref>:<password>@aws-0-<region>.pooler.supabase.com:6543/postgresUse this as an alternative IPv4 option when you need session-level features that Transaction Pooler does not support. In the Connection string panel, select Session Pooler. It will look like this:
postgresql://postgres.<project-ref>:<password>@aws-0-<region>.pooler.supabase.com:5432/postgresReadyset does not fully support IPv6. To use a direct connection, you must first enable the IPv4 add-on for your Supabase project. Once enabled, select Direct connection in the Connection string panel. It will look like this:
postgresql://postgres:<password>@db.<project-ref>.supabase.co:5432/postgres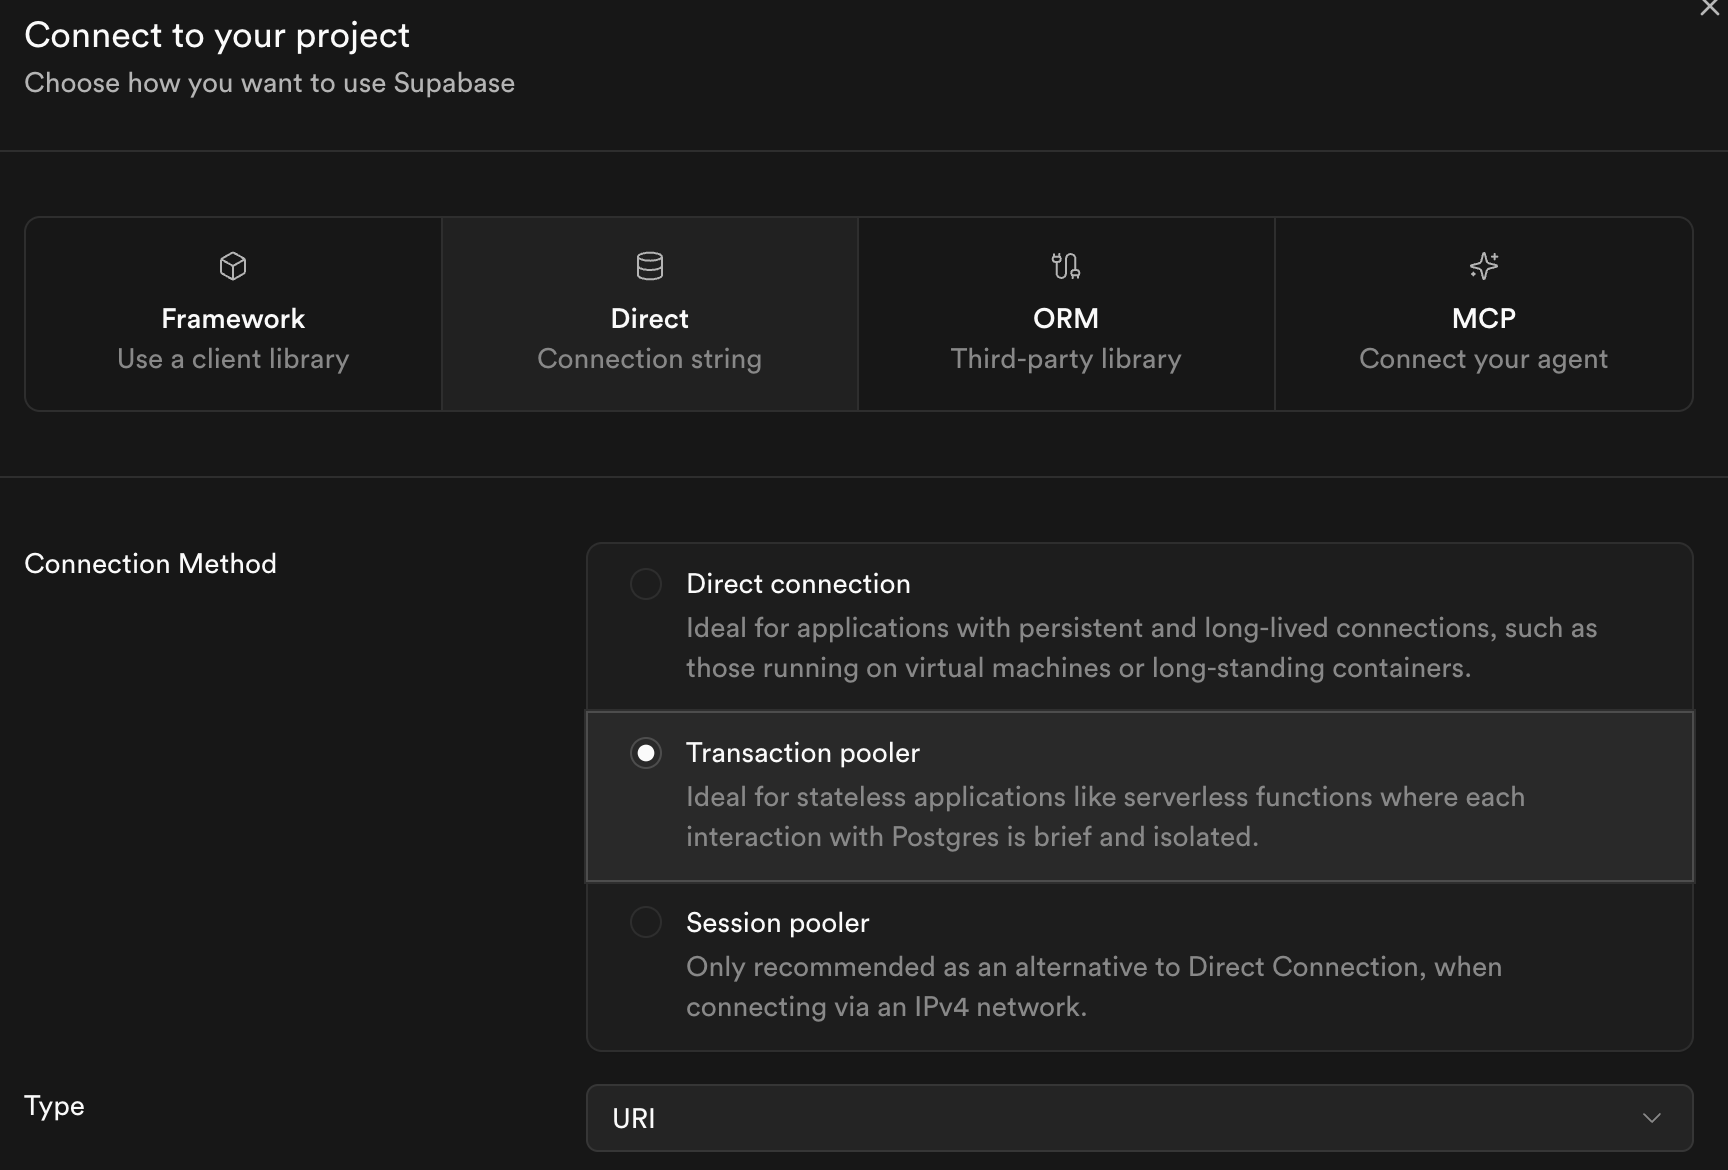
Set your password as an environment variable
RDST uses environment variables to store the database password for security purposes.
export SUPABASE_PASSWORD="<supabase-database-password>"Configure your Supabase database as a target
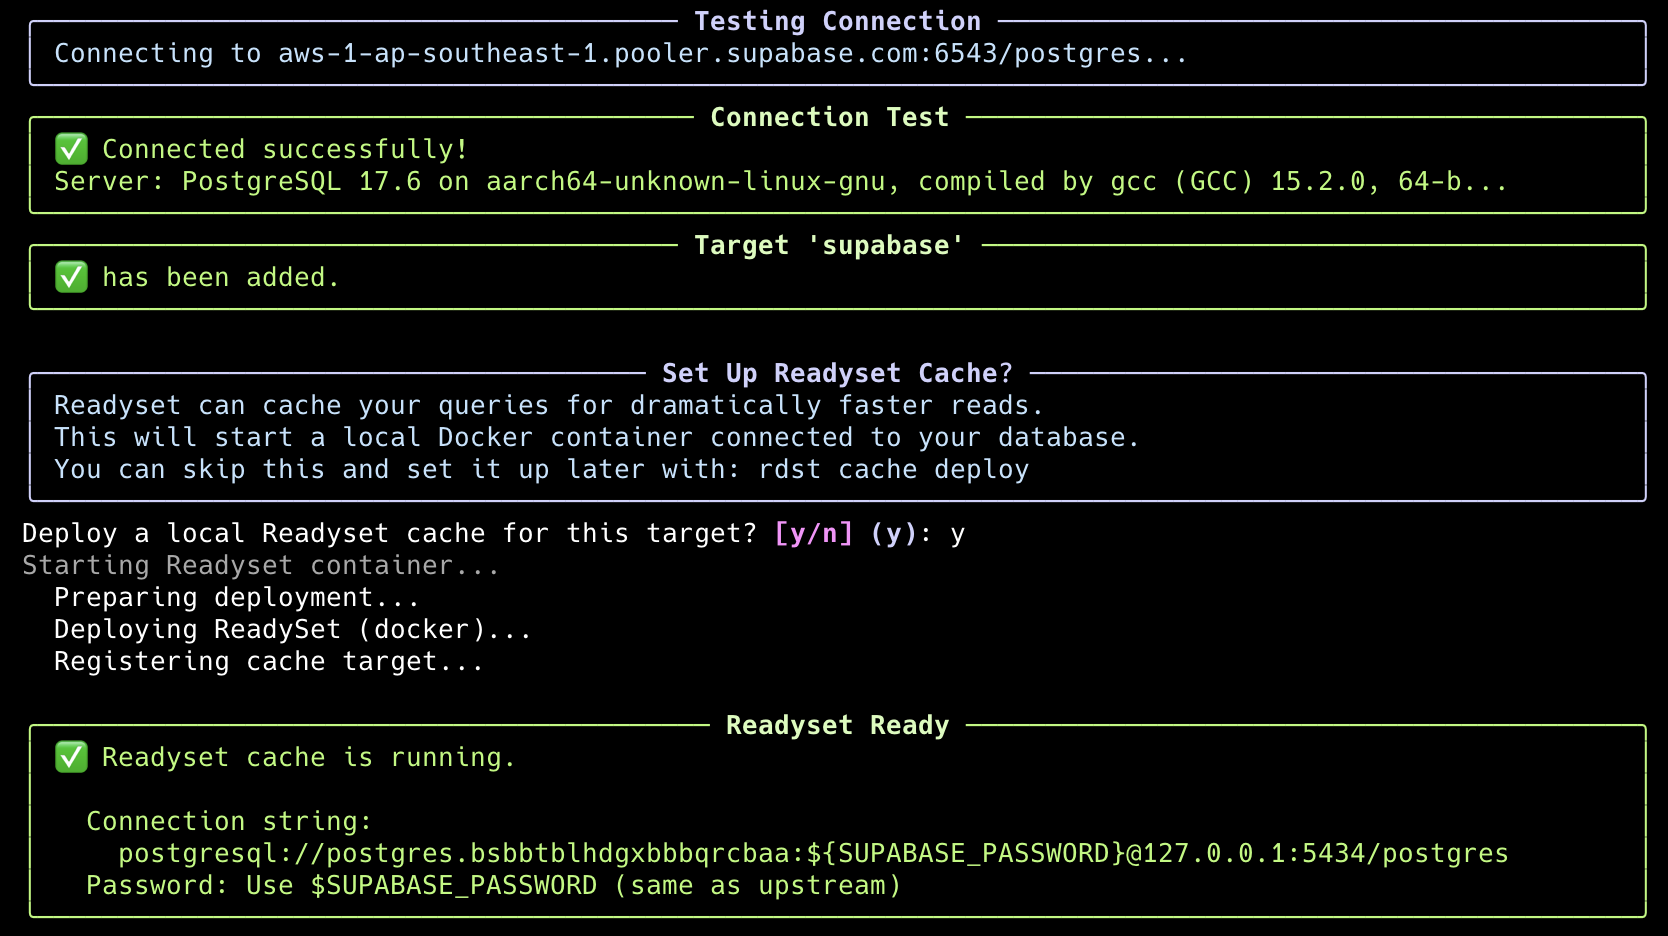
Add your Supabase database as a named target, using the connection string you copied in the previous step:
rdst configure add --target supabase --connection-string "<your-connection-string>"Once RDST creates the target, deploy the cache.